Standard Operating Process for Failure Analysis Metal Products
Though it might seem frustrating to deal with and resolve the failure to get a defect-free product, those times are compensated by the satisfaction of launching a defect-free product. Understanding how to detect failures and where to look for them through various failure analysis methods will provide a structure to your workflow analysis, reduce the mistakes and ensure that the product is launched on schedule time. In this section, we will provide an overview of the process that is involved in metallurgical failure analysis. It will provide you with insight into metal properties that need to be examined and the test and process used for analysis.
Ways to Metallurgical Failure Analysis
There are ways in which a component will fail; sometimes, it might involve a fracture; other times, it may include loss of function, corrosion, distortion, and wear. Some aspects of metallurgical testing laboratory services of failure need to be evaluated to determine the sequence; the same is mentioned below for your better understanding.
-Background
For initiating the failure investigation, you will first require background information, including details about the material used, manufacturing process, the circumstance surrounding the failure, associated specification, and engineering drawings.
In addition to examining the failed component, one should also analyze the unused material. An expert in failure analysis will ensure that the entire process is documented to avoid future failure.
-Inspection
There are categories related to the inspection of material; each is explained below.
- Visual Inspection
This is usually conducted in low power and in controlled lighting. It is essential to document the as-received condition and photograph the overall failure and the position. You should avoid putting the fracture surface back together.
Metallic products are prone to oxidation; hence the air filled in the fractured gap should be examined as early as possible.
- Testing
A test protocol must be developed, which is agreed upon by all the parties involved in developing the product. It is usually bifurcated into destructive and non-destructive evaluation. The conclusion of this calculation needs to be shared with all the concerned parties.
- Non-destructive evaluation and testing
Various types of non-destructive inspection are considered depending on the metal alloy. During this testing, it will reveal additional cracking and discontinuities in the product. The most used tests are liquid penetrating tests, fluorescent penetrant inspection, acoustic emission testing, ultrasonic testing, and many others.
- Mechanical Testing
With the help of this mechanical testing, the metal properties are determined when force is applied. Here, the mechanical properties, like hardness, flexibility, strength, etc., are determined by this test.
Thus, by knowing the hardness of the material, one can estimate wear resistance and the approximate strength of the material. The extensively used method to ascertain the hardness is the Rockwell hardness.
- Macroscopic examination
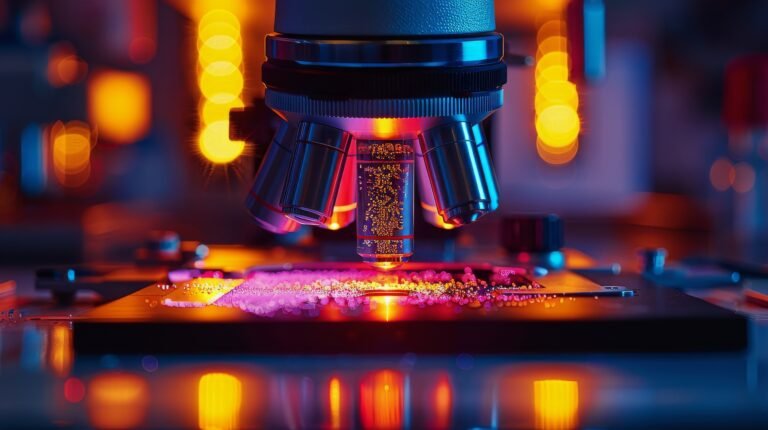
A stereo microscope is utilized for macroscopic examination with the help of this fracture surface. The first information is then used to determine where the fracture or the failure of the product was initiated. It will help to determine whether the fracture is located on the surface or below the surface of the product.
During the inspection, it is necessary to note the fracture direction in relation to normal loading. Marking the fracture surface during the propagation of a crack can help determine the crack source. Based on this report, an experienced analyst can reveal the cause of factors and point out the factors that caused the failure.
- Microscopic examination
This procedure uses a scanning electron microscope; it is a high-power magnifying and imaging instrument that uses an accelerated electron beam as the light source. This instrument allows magnification up to 50000 X and improves depth-field resolution. With the help of this process, a metallurgical expert can determine the topography of the fracture.
A metallurgical expert can classify and determine the fracture type with this equipment. They are also able to collect semi-quantitative chemical information with the help of the scanning electron microscope by energy dispersive X-rays.
- Metallographic examination
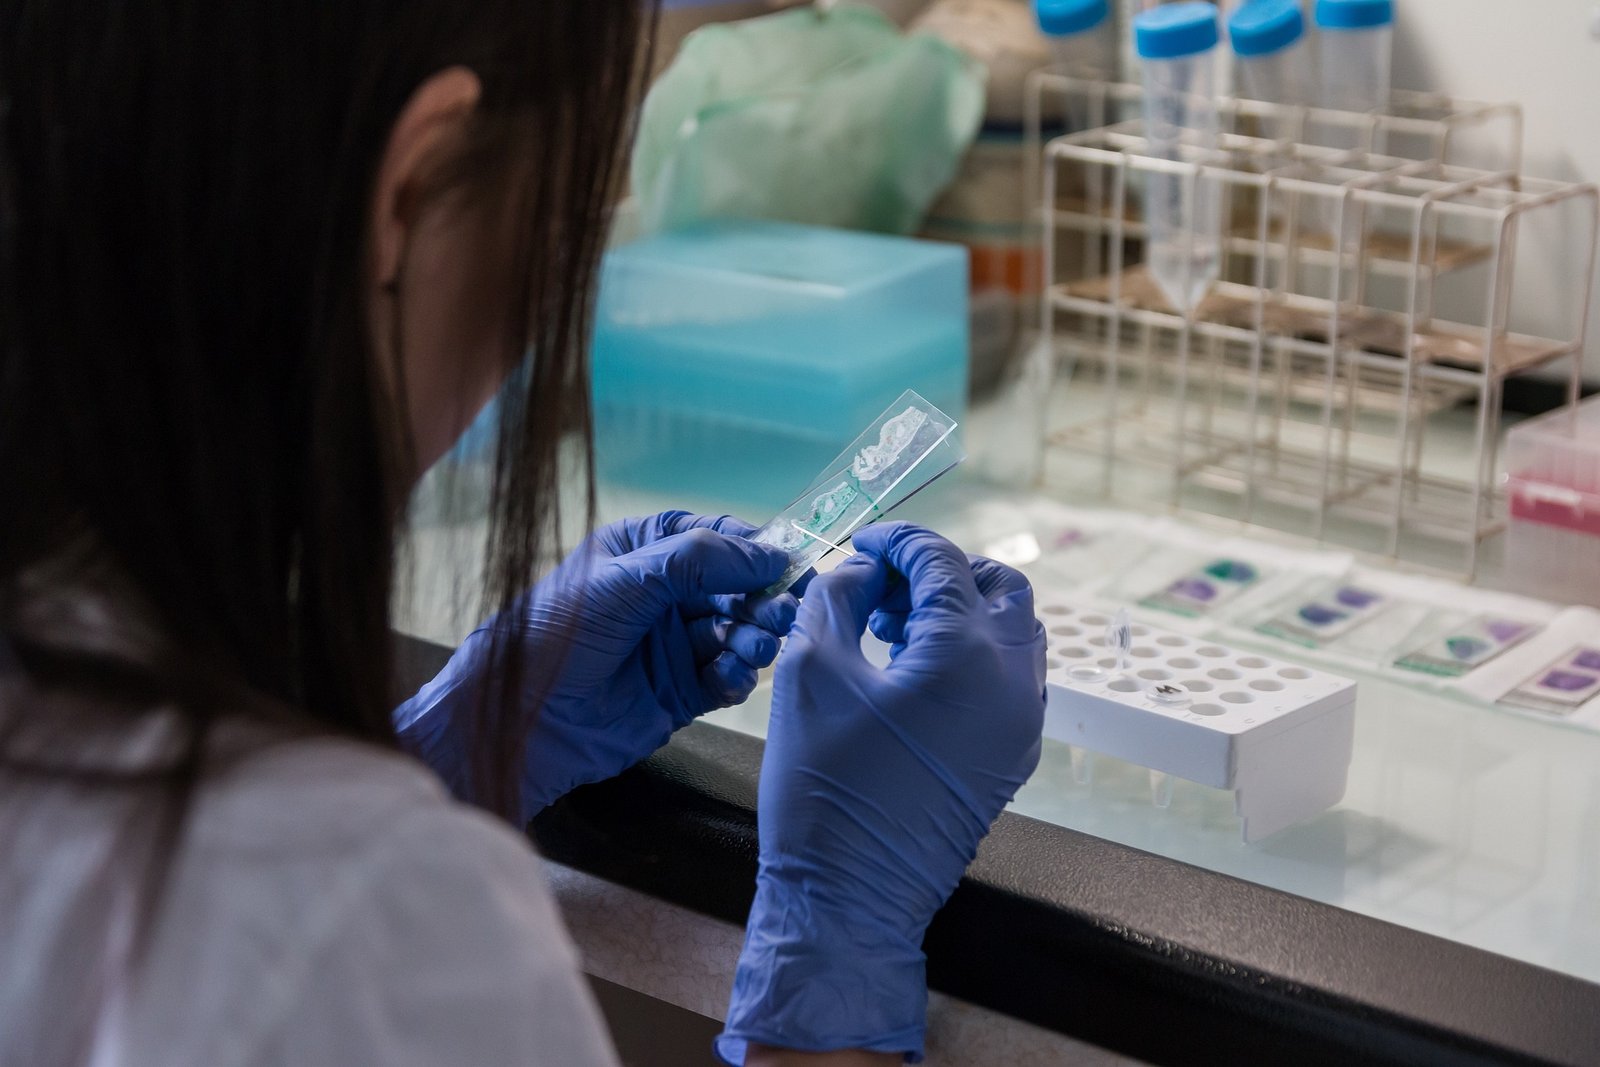
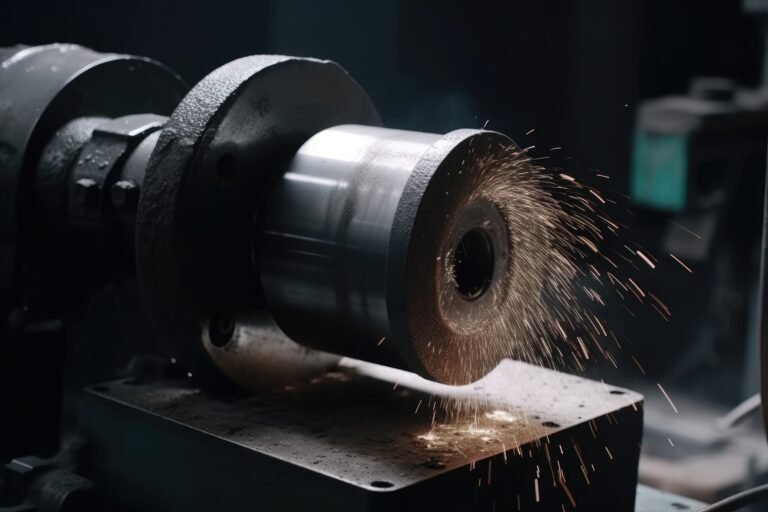
The study of the science of the constitution of the structure of a metal is known as metallography. During this inspection, the analyst will check the sections of the area by abrasive wheel cutting and mount the specimen without deformation.
The metallographic cross-section is polished to have a mirror-like finish. Then, the sample is examined by a metallurgist under a metallurgical microscope.
The examination will reveal the microstructural characteristics like grain size, segregation, porosity, and any non-metallic inclusion present in the product. It will also reveal prior thermal and mechanical treatment of the product. The metallography can be enhanced with the help of chemical etching to reveal the metallurgical characteristics.
- Chemical Analysis
For failure analysis, an expert often performs chemical analysis to determine the product’s chemistry along with local elemental concentration, surface corrosion products, and coating chemistry.
This report can verify the standard or specification, determine defects, and identify the alloys and trace elements. This analysis can be performed by techniques that include optical emission and atomic emission.
This is the standard process that should be jotted down by all the concerned parties for failure analysis of the product and document everything so that future failure of the products can be avoided.

